To get the complete professional look of your flooring you need to consider T-Molding Transition Strip and Multi – Purpose Reducer. What’s more, you’ll additionally need to know how to install the same, here we have assembled the guide and step by step process of how to install transition strip on your flooring. Nothing else than one of the finest ways of getting a smooth and an even flooring surface that’s gives a fresh and brightening look.
The Motive behind molding and installing transition strip is to cover edges, uneven heights and to fill the surface gap e.g. doorways, wood ends, and other types of flooring begins like tiles or plank. Installing trim is the last step in the process of complete flooring installation. Whereas in order to avoid last minute hayway, consider the plan for molding and trim in advance along with overall installation

Transition Strips
Before starting let us understand the uses of Transition Strip and Multi-Purpose Reducers.
T-Molding Transition Strip: Combines any two floors with the same height or covers the gap between two rooms, specially at doorway or other related spaces. Although the most common usability of transition for T-shaping is at doorways, another capacity of T-forming is joining hardwood floors in huge areas. Long term usability of hardwood floors needs to take into consideration expansion and contraction while installing. Floors which are longer than 40 feet ought to have an expansion gap, and here T-Molding plays a major role.
Multi-Purpose Reducer: Creates smooth transition with floors of different heights or it is used as bridges between two floors of slightly different thickness such as vinyl flooring or laminate or wood flooring
Recommended Tool Requires: Interior/Exterior commercial grade silicone sealant, Compound Miter Saw, Tape Measure and Pencil
Steps for Installing Transition Strip:
Step 1: Measure the length and width of T-Molding Transition Strip. Make sure to measure twice before cutting the T-Molding Strip. Mark and Cut T-Molding Transition strip and connective base to appropriate length. Make sure to cut strip just a little big, because nothing is worsen then cutting strip small compared to the required length. Make use of Milter Saw for clean and desired cut.
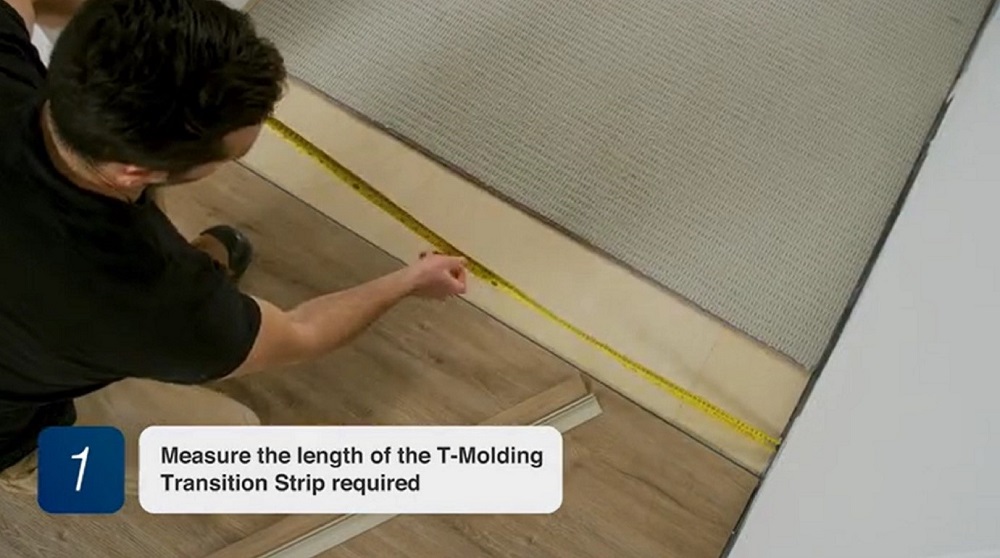
T-Molding Transition Strip
Step 2: Apply adhesive along the bottom of the connection base strip or along the bottom of the gap between the two floors. Its important for an adhesive to be compatible with both surface and the transition strip which you are bonding too.

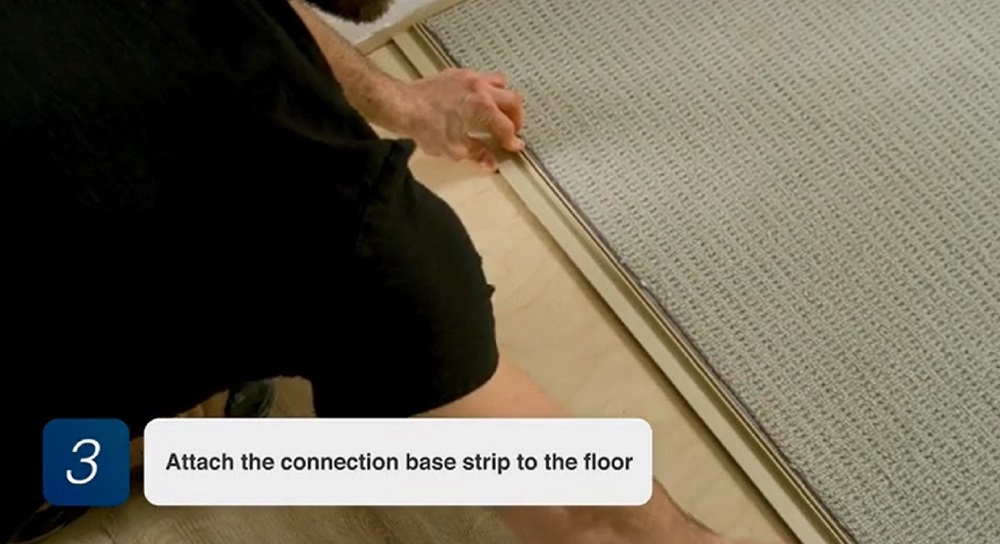
Step 3: Attach the connection base strip to the floor. Press the base gently and remove any excess glue with a damp cloth. Make sure the wide edge of the connection base strip is facing towards the flooring that is to be laid.
Step 4: Secure vinyl plank or vinyl tiles into place.

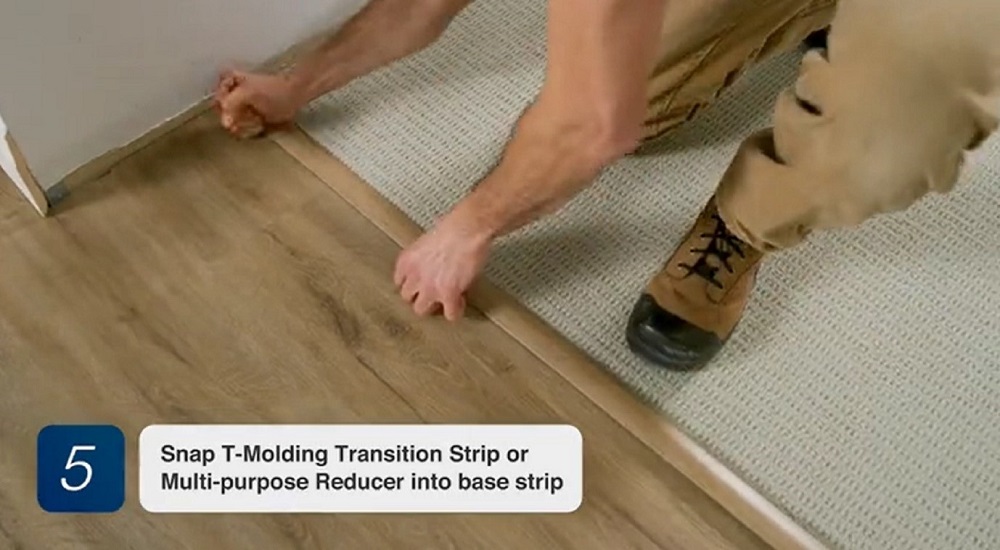
Step 5: Snap T-Molding Transition strip or Multi-Purpose Reducer into bas strip. Push down until the T-Molding Transition strip is securely settle in place. Use a hammer or a block of wood to tap and tap it above the transition strip gently if needed. Its important for glue to get dry, additionally you can keep some heavy object upon the strip for firm and strong placements. At the end check the edges from the sides, if it placed appropriately with no spaces reflecting from sides.
And you are all set, transition strip installed!
T-Molding and Floor Color:
With regards to hardwood flooring, t-molding are frequently sold as complementary color, because it’s impossible to get the direct match color same as floor. To get T-Molding exactly as your floor color to match the natural variation would be extremely impossible. Hence its important to plan and consider T-Molding at time of complete floor installation planning.
Final Tips on Installing Molding Transition Strip:
While installing transition strip consider the fact of expansion and contraction and accordingly leave the space. Measure correct height and width before cutting the strip, just to avoid wastage of material and time. On the off chance that you cannot find trim in a similar colour and finish as your floor, buy as it is and stain it by yourself. Let’s this installation of T-Molding transition gives your floor a professional look with smooth transition from one room to another room.
Author Bio:
This is Zinnia Pereira, Passionate about all home things, inspiring and writing home improvement, interior, crafting, organizing, furniture, makeovers and DIY Projects.